Category: Gadgets

  • How to set up Wi-Fi on HP LaserJet Tank printer

    HP LaserJet Tank printers offers good quality printouts with very low cost of maintenance. One of the advantage with HP LaserJet Tank MFP 1005 is connectivity feature. It supports, Wi-Fi, Wi-Fi direct along USB connectivity. Connecting a HP Printer to Wi-Fi enables it to take printout wirelessly from multiple devices such as smartphone, tablets, laptop etc. In this post, let us explore the way to set up Wi-Fi on HP LaserJet Tank printer using HP smart app on a smartphone.

    Setup Wi-Fi on HP LaserJet Tank MFP 1005w

    Here is the step by step guide.

    1. Connect your HP printer to the power source and power it on.
    2. If your printer is new you can skip below steps and move on to the next step. If you have changed your Wi-Fi network or you want reset Wi-Fi setting, then
      • Press the cancel button once to ready the printer.
      • Press and hold information button for 5 seconds until control panel lights up.
      • Next press and release Wi-Fi and cancel button together.
      • WiFi LED and Power buttons will start blinking and the display screen shows setup mode. Wait approximately 60 seconds.
    3. Install “HP smart App” on your smartphone. You need to also install “HP Print service Plugin”.
    4. Launch the HP smart App. Post agreeing to the terms and conditions, tap on “Add your first printer” and then “Get Started”.
    5. You will get a page which asks you about how do you want to connect this printer. Choose “WiFi” and tap continue.
    6. It will show the printer on the screen. Select it and enter the WiFi password.
    7. Tap continue to go to the next step.
    8. You will get a pop up which ask you to press the information button on printer. Press the “i” button on printer.
    9. Wait for few minutes.
    10. Your printer will get connect to the WiFi.

    This way you can connect to your HP printer to the WiFi and configure HP smart App.

  • EPSON EcoTank M2170 Review-Pros and Cons

    The EPSON EcoTank M2170 is a compact monochrome all in one printer.  Launched early this year, M2170 add to Epson’s line-up of Inktank printers and are expected to enhance Epson’s presence in the office printing segment.

    The M2170  is specifically designed to lower business printing costs in comparison to mono laser printers, while being extremely kind to the environment. The company promises ultra-low printing cost of 12 paise per print and claims that the printer is 23 times cheaper when compared to mono laser printers. The less costly inks result in a significantly low total cost of ownership for the organization over a period of time.

    One of the key advantage of EPSON EcoTank M2170 is the operational cost. It is ideal for organizations that are concerned about their printing costs, about efficiency and about the environment.  Epson claims that it has been designed keeping in mind the UN Sustainable Development Goals (SDGs). There are many advantages of having EcoTank M2170 and few demerits as well. Here is the breakup of features in the form of pros and cons.

    You may like to read:

    Epson Ecotank M1120 Review

    EPSON EcoTank M2170 Review – Pros and Cons

    EPSON EcoTank M2170

    Ecotank M2170 Pros

    Compact design

    EPSON EcoTank M2170 is a compact all in one printer and takes a small footprint. You can easily place it on your table. In addition, the spill free refilling is an added benefit.

    Good connectivity options

    EcoTank M2170 provides multiple connectivity options. Ethernet up to 1000Base-T (or Gigabit Ethernet), Wi-Fi (802.11 b/g/ns), connection to a single PC via USB 2.0, and Wi-Fi Direct are the available connectivity options. Wi-Fi direct provides an option to connect Wi-Fi enabled devices to the printer without being part of the local area network or connected to router.

    Print scan and copy

    Epson used PrecisionCore printhead in ET-M2170. It takes better quality printout especially grayscale graphics and photos. The text looks good. Overall, print output on this printer is good. 

    The Epson ET M2170 can print 20 pages per minute and has auto duplex printing options.  The print output is smudge and water-resistant.  It can scan or copy in 1200 x 2400 dpi (with Variable-Sized Droplet Technology).

    Low operational cost

    You will get one bottle of ink in the box. Each bottle of ink is capable of taking approximately 6000 pages. The price of ink bottle is around INR 700. The average cost per print is 12 paisa.  Along with this, Epson’s two-year warranty (you get an additional year upon registration) is additional benefit.

    EPSON EcoTank M2170 Cons

    • Lacks automatic document feeder for scanning.
    • The display panel is not touch enabled.

    EPSON EcoTank M2170 Review summary: 

    If you are looking for a good all in one monochrome printer with low operational cost, then Epson EcoTank M2170 is worth considering.  Though the initial price is high, over the year, it will save lot of money.

    Video Overview of Epson Ecotank M2170

    Epson Ecotank M2170 Unboxing and Overview
  • How to download and install iPadOS

    The much anticipated iPadOS 13, the first iteration of iPad exclusive operating system is available for download. This will bring several enhancement to Apple iPad models. Download manager, file manager, new home screen widgets are some of the features to name few. In this post, we will learn how to download and install iPadOS.

    iPadOS will be available for all the iPads models starting iPad (5th generation), iPad mini 4, and iPad Air 2.

    How to download and install iPadOS ?

    You can download the latest version of iPadOS by going to Settings menu. It is recommended to take a backup before updating to iPad13. For updating the device, you should also have adequate amount of battery charge and enough space. The size of the iPadOS13.1 download is approximately 2.04 GB. You can follow the steps below to download the iPadOS 13.1.

    How to download and install iPadOS
    1. First go to Settings>General>Software update.
    2. It will check for update. If update available, it will ask you to begin the download process.
    3. Now tap on Download and Install to begin the update process.
    4. Dependending on your internet connection speed, download time may vary.
    5. Once download is completed, tap install. This will begin installing the iPad OS.
    6. You need to read and accept the terms by tapping Agree.
    7. Your device will restart once to complete the software installation.

    How to download and install iPadOS through iTunes

    If you want to download and install iPadOS through your PC or Mac, then you can use iTunes.

    • First, ensure you have the latest version of iTunes in PC or Mac.
    • Connect your iPad with your computer.
    • Device icon will be shown in the left top corner.
    • Click on the icon.
    • Then Click on Summary.
    • Now you will see Check for update button.
    • If it shows the update available, click on Download and update button,
    • Follow the onscreen instruction to complete the iPadOS installation process.
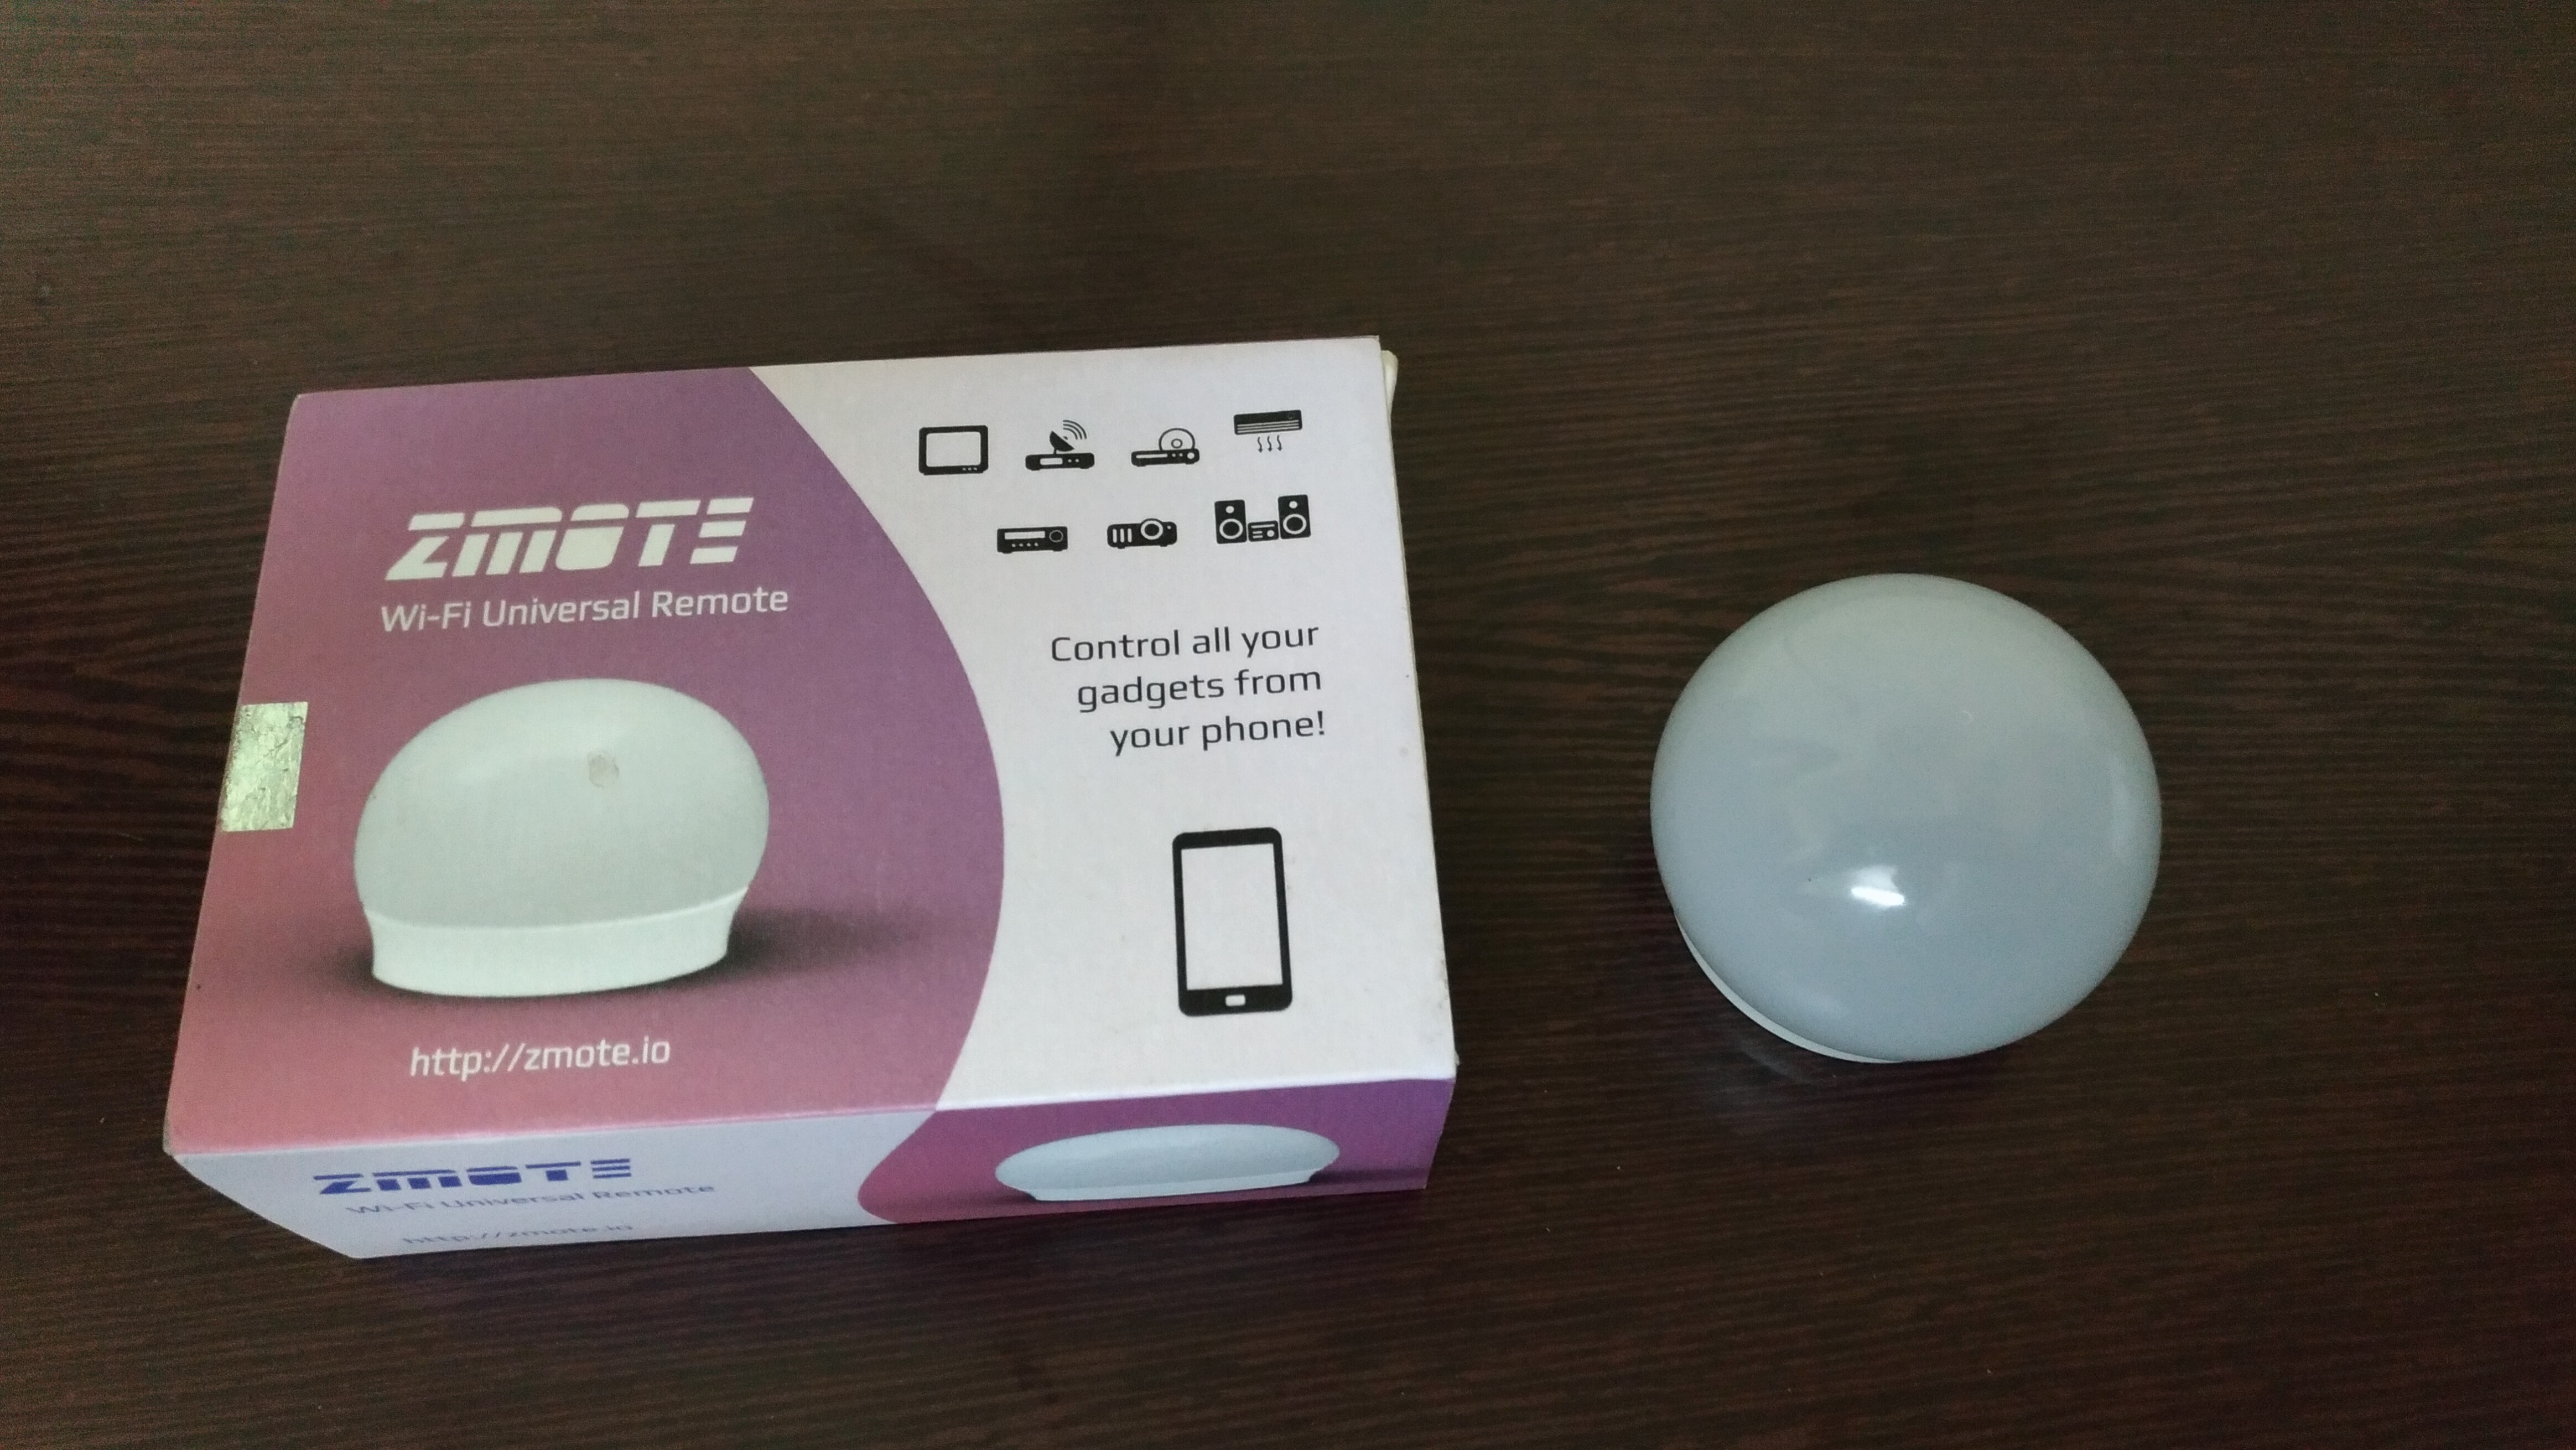
  • ZMOTE Wi-Fi Universal Remote

    Ever since increase in the remote controllable devices, number of remote controls to manage those devices are also increasing.  Nowadays TV, STB, AC, music player, projector etc all comes with a remote control. Having a different remote control for all of these devices started creating  problem.  So there comes the universal remote controls which can manage multiple devices. There are some smartphones which comes with IR blaster which works as a universal  remote controller. But, what if your smartphone does not have IR blaster feature?. ZMOTE Wi-Fi Universal Remote might be the answer to it.

    ZMOTE Wi-Fi Universal Remote

    ZMOTE is a wifi connected IR blaster with learning and monitoring capabilities. Once configured, you can use it as a universal remote by placing it in your living room and controlling all your gadgets (TV, STB, AVR, Media PC, projector, XBOX etc) from your phone or over the web using a regular browser.

    ZMOTE comes with its own web app, which allows you to add remote from its database. Using the web app, you can even customise the remote. It also has the ability to learn new key presses from your existing remote.  Out of the box ZMOTE works well with many third party apps such as Smart TV remote, iRule, Home remote etc.

    One of the biggest advantage of this Wi-Fi Universal Remote is the option to control the device from far away. As long as ZMOTE is connected to WiFi network with internet and placed in front of the device which you want to control  and your phone/laptop is connected to internet, you will be able to control the device irrespective how far you are.

    ZMOTE Wi-Fi Universal Remote Features

    • Control your multiple gadgets(IR based remote supported devices) from phone or laptop or iPad.
    • To control the device, no need to be in front of the device.
    • Has database of more than 3000+ remotes.
    • It is OS independent as it works with Web app.
    • Compatible with many third party apps such as Smart TV remote, iRule, Home Remote etc.
    • Ability to backup existing remote using learning feature of zmote.
    • ZMOTE also offers developer friendly APIs and tools if you are into DIY home automation.

    ZMOTE is available for sale in India for Rs. 2499 via ebay.in. It is also sold on for customers outside India.