iPhones are known for its camera capabilities. It takes good photos and videos. With the latest iPhones such as iPhone 15 Pro, iPhone 14 Pro, image quality is great but at the same time, file size is also increased. To share it with someone, you may be thinking of reducing the file size. So in this post, let us explore how to reduce photo file size in iPhone without using any third party tools.
How to reduce photo file size in iPhone and convert file formats of the images
You can do it with the built in feature of the iOS. So to begin,
- Go to Photos app. Select the photo you wish to reduce the file size or change the file format such as PNG, JPEG etc.
- Tap Share and then select Save to Files.
- Choose the destination folder and save it.
- Now Go to Files apps and Navigate to the folder where you saved the photo.
- Long press on the photo you want to reduce the file size.

- You will get a menu. Select Quick Actions. Next tap “Convert image“.

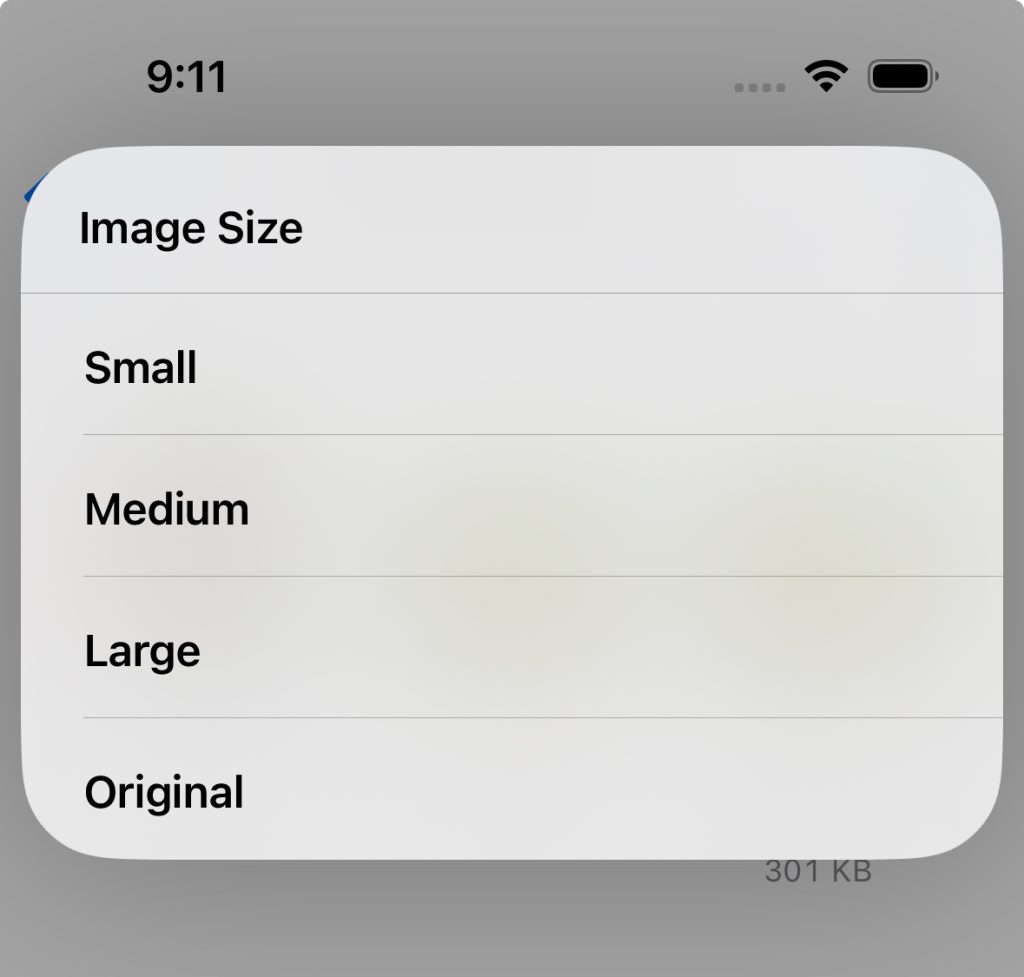
- Select the File Format of your choice. Now you can choose the image size between Small, medium, large or Original.


- It will create copy of the image with compressed file size.
- To create a compressed PDF from the image, long press on the compressed image. Select Quick Actions and then tap Create PDF.
This way you can compress images on iPhone running on latest iOS. It is a good option if you want to create small sized pdf of scanned documents.
Leave a Reply